When the summer heat intensifies in Indianapolis, a well-functioning air conditioner becomes essential for comfort. However, AC units can occasionally encounter issues that disrupt their performance. While some problems require the expertise of our professional, others can be addressed with some basic troubleshooting techniques. Before you reach out for professional help, there are several steps you can take to potentially resolve minor AC issues on your own.
Today, we will walk you through simple diagnostics and remedies that homeowners can safely implement. By understanding these minor issues and knowing how to troubleshoot them, you can save both time and money, and sometimes even prevent a small problem from escalating into a major one.
Checking and Replacing Air Filters
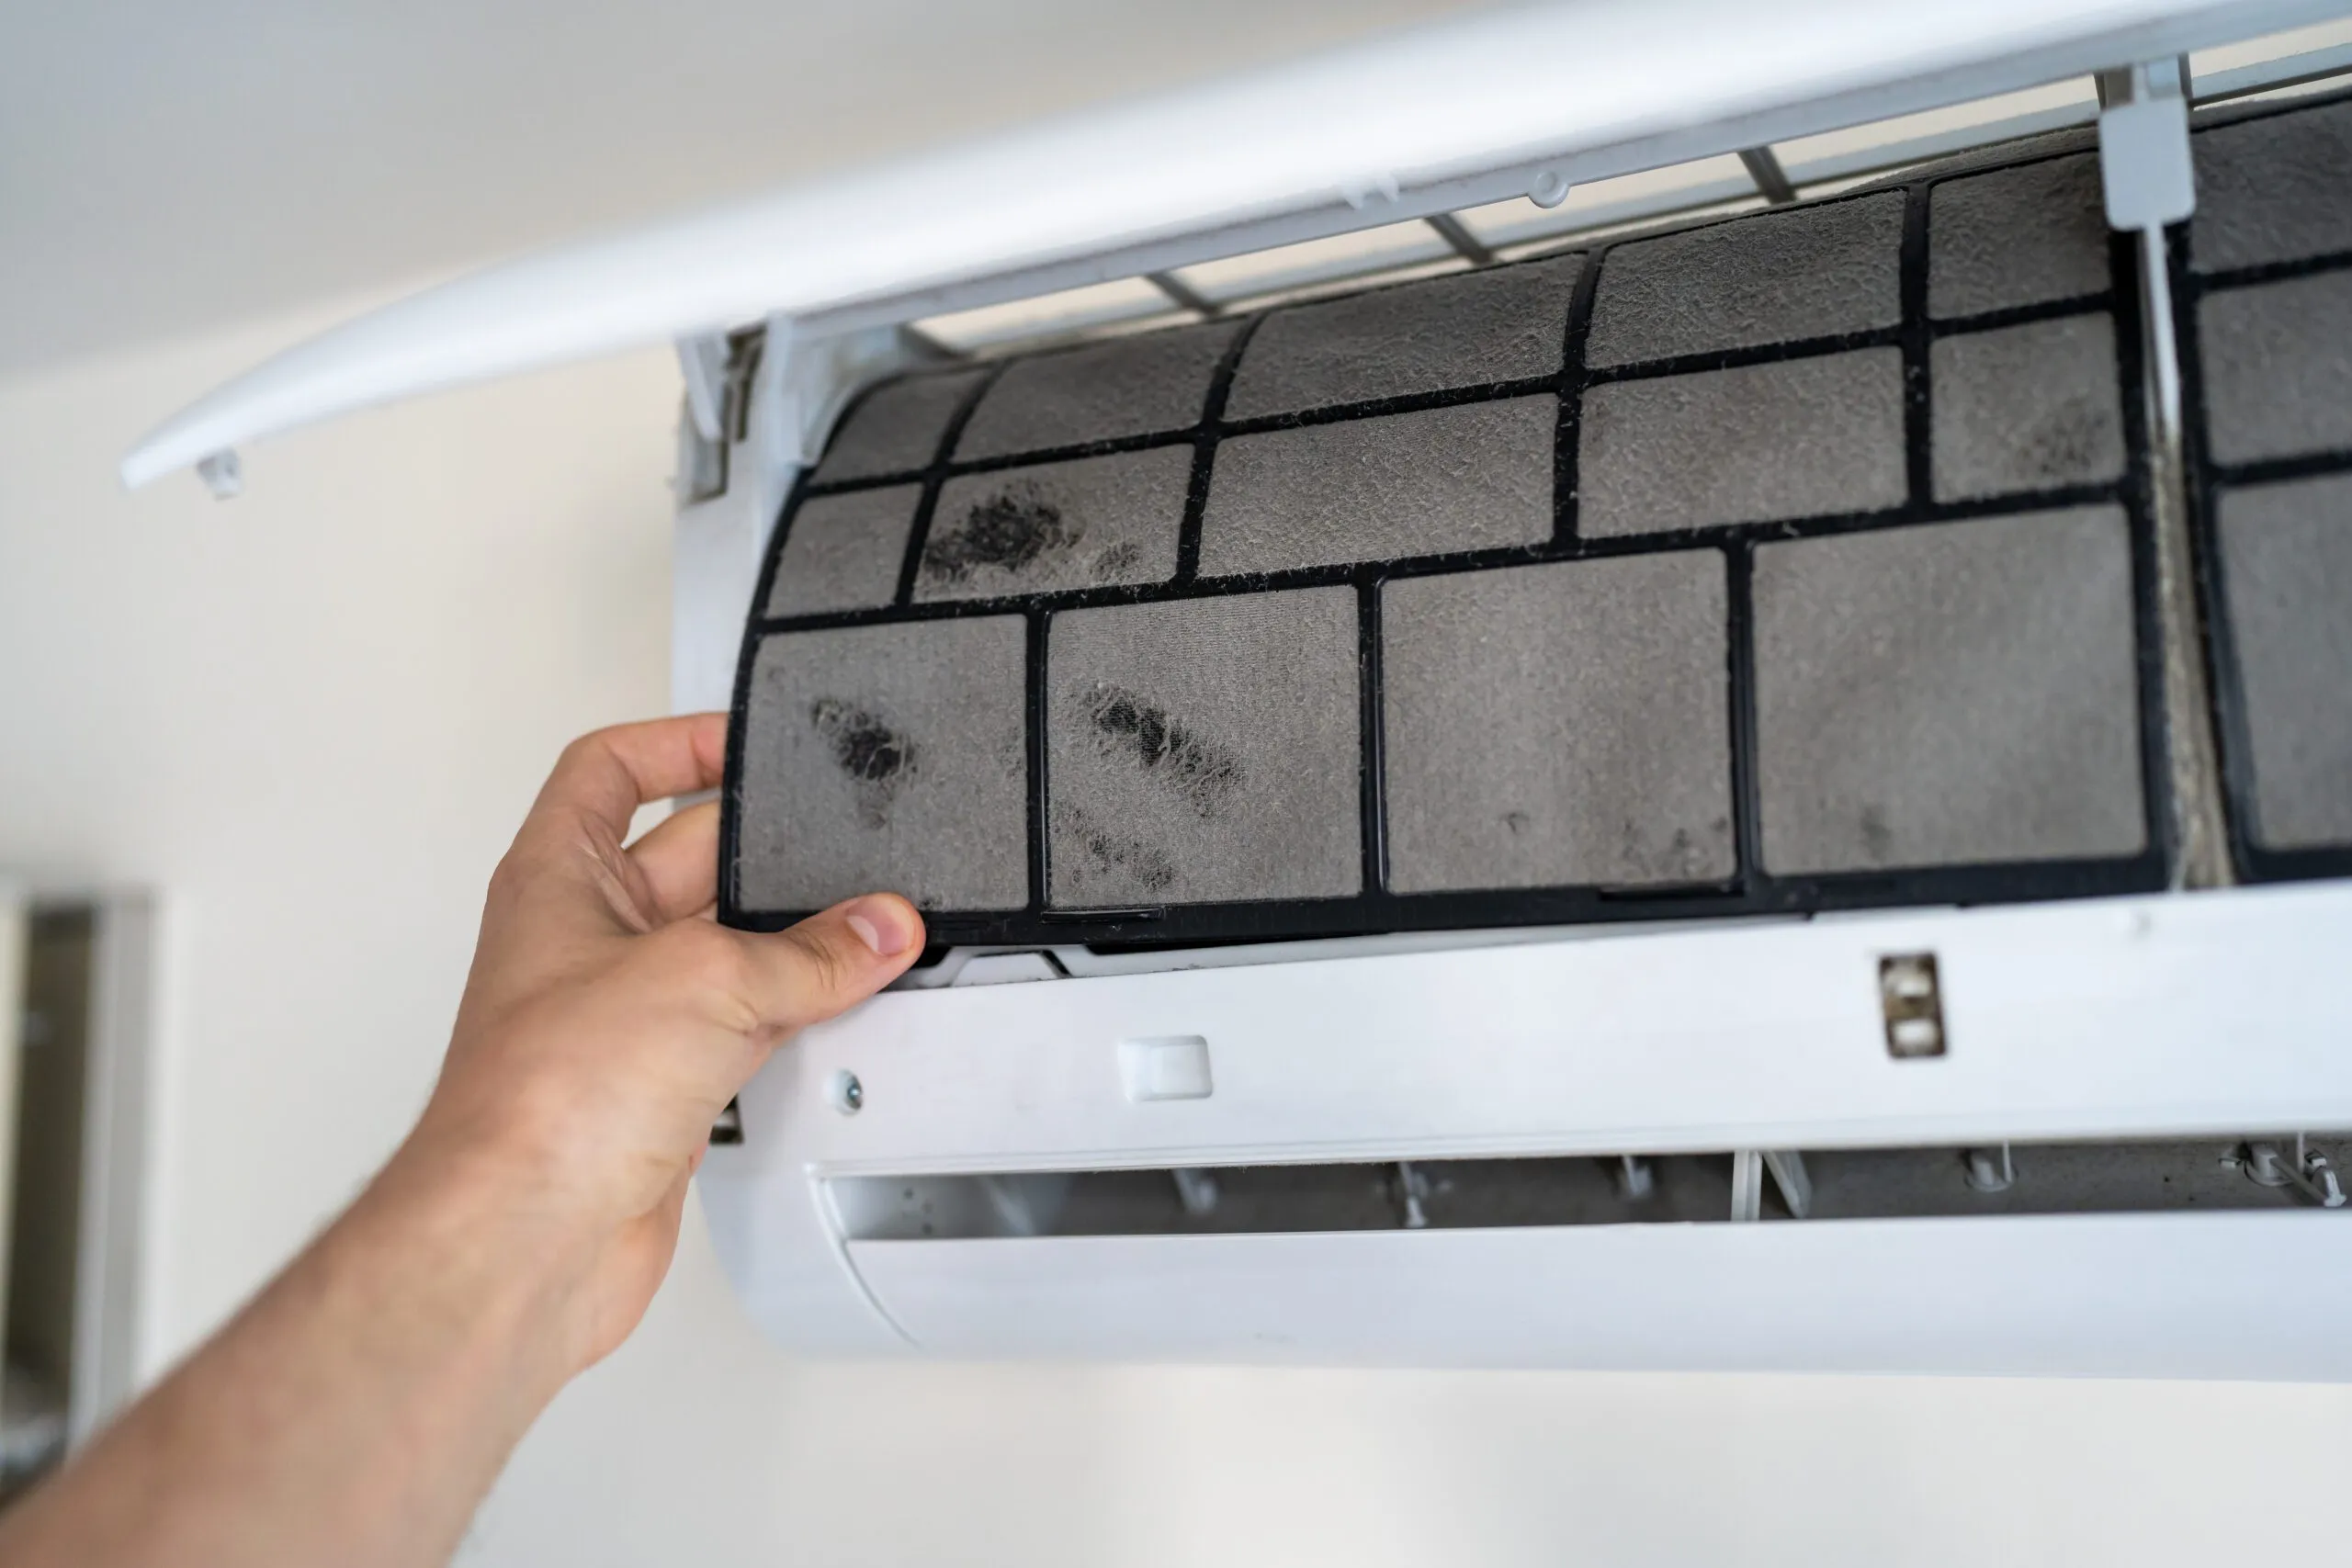
One of the most common causes of air conditioner inefficiencies is a clogged or dirty air filter. Air filters trap dust, pollen, and other airborne particles, preventing them from entering the indoor air stream. Over time, these filters can become saturated with debris, which reduces airflow and forces the AC unit to work harder, potentially leading to overheating or even system failure.
To troubleshoot this, first locate your AC’s air filter, which is typically found along the return duct in central air systems or inside the unit itself for window units. Examine the filter for visible accumulation of dust and dirt. If the filter appears dirty, replace it with a new one that matches the size and type specified for your unit. It’s advisable to check the air filter monthly and expect to replace it approximately every 90 days, or more frequently if you have pets or a dusty environment.
Inspecting and Cleaning the Condenser Coils
The condenser coils, usually located in the outdoor unit, release heat removed from the air inside your home to the outside. When these coils become covered with dirt, leaves, and other outdoor debris, they can’t efficiently release heat, making your AC run longer and harder.
Begin this troubleshooting step by ensuring the power to the air conditioner is turned off. Next, clear any large debris by hand and use a garden hose set on a gentle spray to wash away dirt from the condenser coils. Be sure not to use a high-pressure hose, as it could damage the fins. If the debris is particularly stubborn, a commercial coil cleaner can be used—just follow the manufacturer’s instructions closely. Remember to be gentle during this process to avoid bending or damaging the fins, which can impede airflow.
Evaluating the Thermostat Settings
Sometimes the issue might not be with the AC unit itself but with the thermostat settings. If your air conditioner does not turn on, or if it’s not cooling effectively, the thermostat may be set incorrectly or could be malfunctioning.
First, ensure that the thermostat is set to “cool” and that the temperature setting is lower than the current room temperature. If your thermostat is programmable, make sure it’s following the correct schedule. You can also try replacing the batteries if it’s a battery-operated model. If the problem persists, there might be an issue with the wiring or the thermostat itself may need replacing.
Checking the Circuit Breaker and Power Supply
Before assuming any complex mechanical failures, it’s worth checking the simpler solutions, like the AC’s power supply. A tripped circuit breaker or a blown fuse could be the culprit behind an air conditioner that won’t turn on.
Locate your home’s electrical panel and find the circuit that serves the air conditioner. If the breaker is in the “off” position, flip it to “on.” If it’s in the middle, which might indicate it’s tripped, first move it to “off,” then back to “on.” If the breaker immediately trips again, there’s likely a more severe electrical issue, and it’s time to call our professionals for a deeper investigation. Similarly, if your AC unit is connected via a wall socket, ensure the plug is secure and the outlet is functioning by testing it with another device.
Monitoring the Drain Line
The air conditioning process generates moisture, which is typically channeled away from the unit through a drain line. Over time, this line can become clogged with algae, dirt, or mineral deposits, causing water to back up and possibly leading to water damage or affecting your AC’s efficiency.
To troubleshoot, locate the drain line — a PVC pipe near your outdoor unit — and inspect it for any obvious blockages. If blocked, you can attempt to clear it using a wet/dry vacuum on the drain line exterior. A mild vinegar solution can also be used periodically poured down the line to help keep it clear. If these steps don’t resolve the issue, there might be a more significant blockage or damage that our trained technicians should handle.
Ensuring Long-Term Efficiency and Comfort
As we’ve discussed, maintaining your AC unit doesn’t always require professional intervention. By following these essential troubleshooting steps and recognizing common minor issues, you can ensure that your air conditioning system remains in good working order, maximizing both comfort and efficiency in your Indianapolis home. Regular maintenance like cleaning filters, inspecting coils, and checking the power supply can prevent many common problems and extend the lifespan of your unit.
However, when complex issues arise or if your system needs a more thorough inspection, don’t hesitate to reach out to our skilled technicians at LCS Heating & Cooling. We are committed to providing you with prompt, professional service to keep your AC running smoothly through every season. Contact us today for reliable maintenance and AC repair in Carmel, IN.


